DIY Christmas Wreaths: How to Make a Full, Fresh Wreath Plus 9 Easy Designs
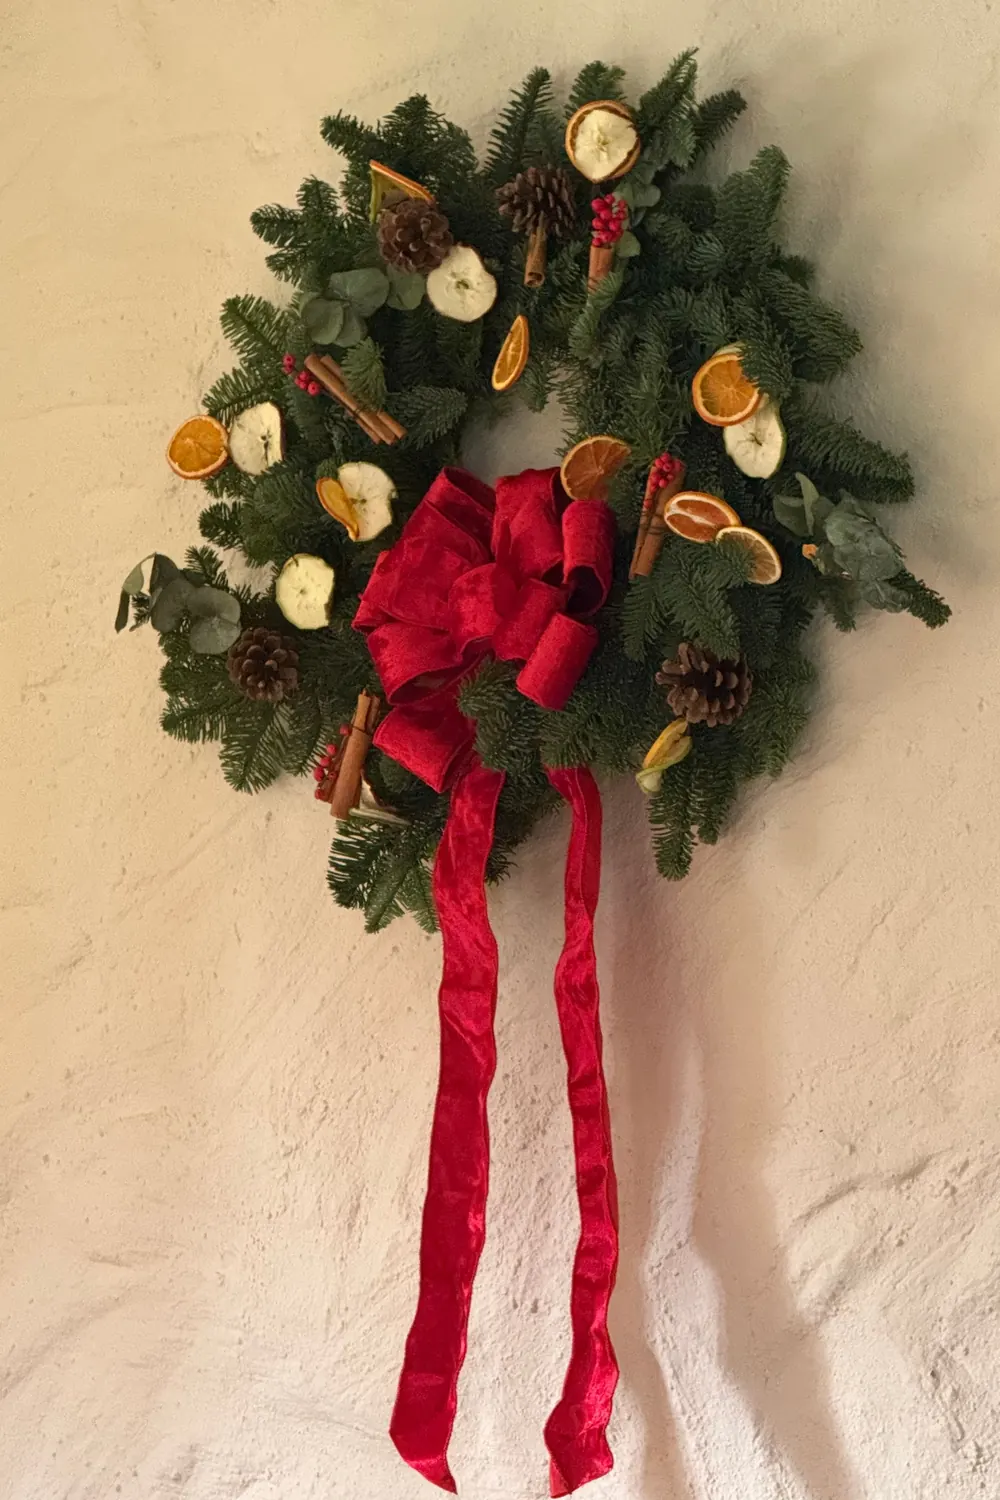
DIY Christmas wreaths you can make in an afternoon: how to wire fresh greenery to a frame, tie a full velvet bow, and build bauble, brass hoop, dried orange, pinecone, jingle bell and berry wreaths, plus sizing and care tips so yours lasts all season.
A handmade wreath is the most generous piece of Christmas decor you can make. One afternoon, a bundle of cut greenery and a frame from the craft store give you something no shop can match: a wreath sized to your own door, in your own colours, that smells of fir every time you walk in. The ideas below run from a classic fresh-greenery build to quick no-greenery hoops, with the practical details that separate a lush wreath from a lopsided one.
What you need before you start
Almost every wreath here starts from the same small kit. Buy it once and you can make a new design every year.
- A frame. A 12 or 14 inch double-rail wire frame suits most front doors. Grapevine bases look rustic and need no greenery at all, and metal hoops suit minimal designs.
- Paddle wire. 22 or 24 gauge green floral wire on a wooden paddle. It holds bundles tightly and disappears into the needles.
- Floral picks and wired wood picks for attaching cones, fruit and ornaments.
- Sharp pruners and wire cutters. Never cut wire with your pruners; it nicks the blades.
- Gloves and an old sheet for the table. Fir and pine sap is sticky, and a coat of hand lotion before you start makes it much easier to wash off afterwards.
For a full 14 inch fresh wreath, plan on roughly two to three supermarket bundles of mixed greens, or the lower branches trimmed from your Christmas tree.
Build a classic fresh-greenery wreath
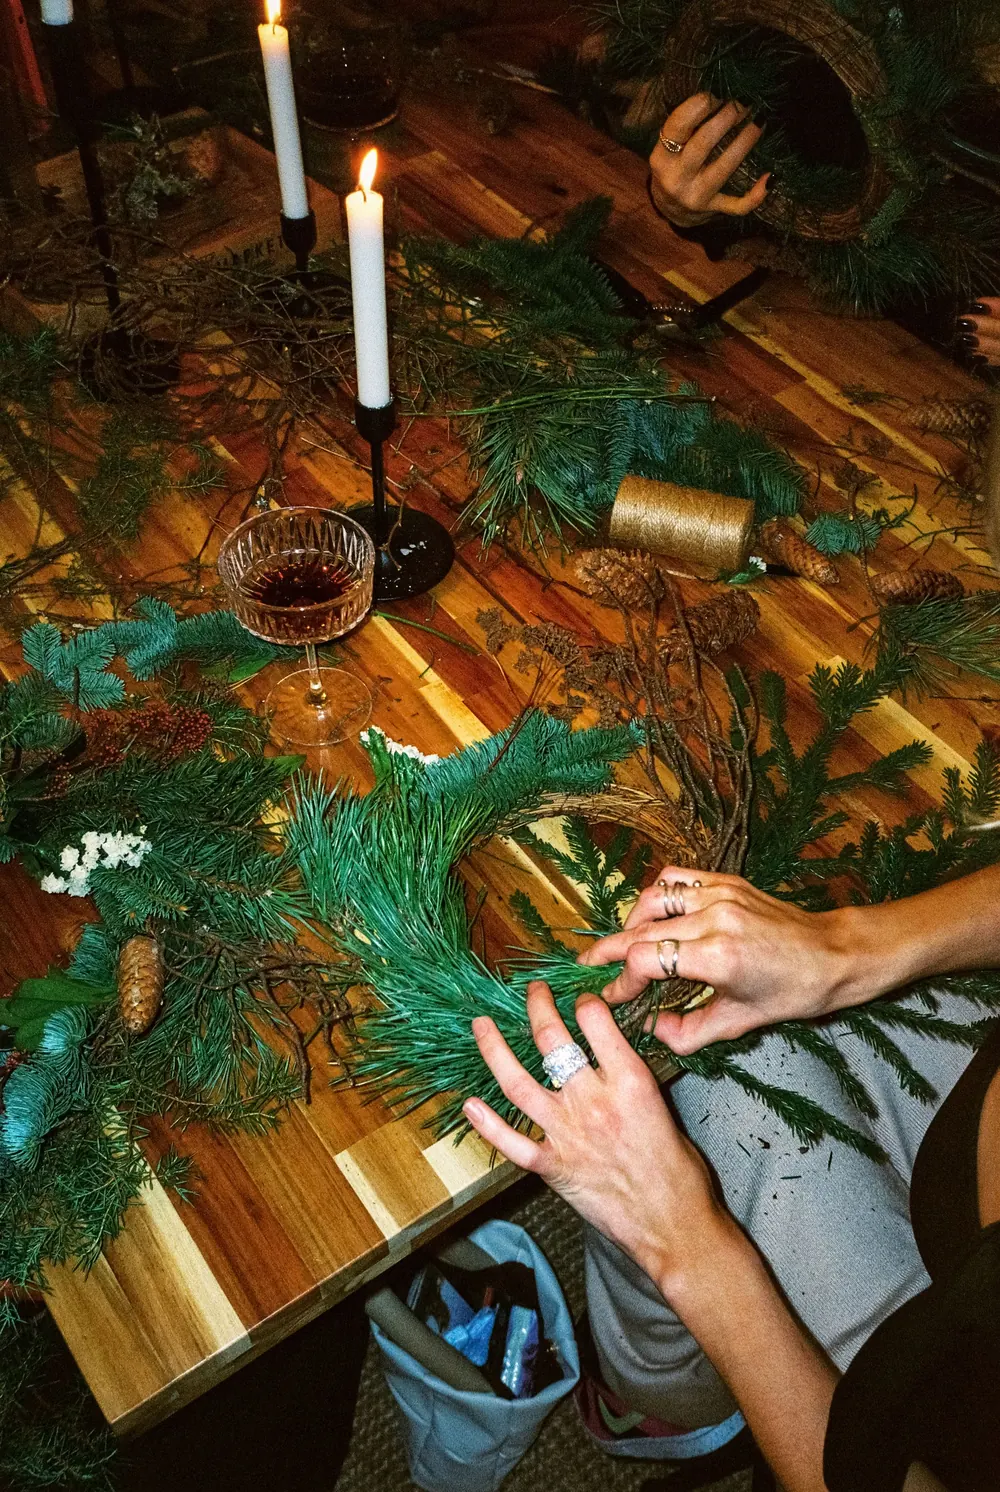
The method professional wreath makers use is simple: small, equal bundles, wired on in one direction, each overlapping the stems of the last. The Iowa State University Extension wreath guide recommends cutting greens into 4 to 8 inch sections and layering three or four pieces per bundle.
- Soak the cut greens in a bucket of water overnight so the needles are fully hydrated.
- Tie the end of the paddle wire to the frame.
- Lay a bundle on the frame and wrap the wire tightly around the stems two or three times.
- Place the next bundle so its tips cover the cut stems of the first, and wrap again. Keep the same wire running continuously.
- Work all the way round, then lift the tips of the first bundle and tuck the final stems underneath.
The most common mistake is bundles that slowly grow larger as you go, which leaves a wreath that is fat on one side. Make one reference bundle at the start and compare every new bundle against it. Mixing a base of fir or cedar with one or two accent pieces per bundle, such as eucalyptus, juniper with berries or a sprig of boxwood, gives texture without looking messy.

Tie a bow that actually looks full
A bow is the focal point of most traditional wreaths, so it is worth using proper ribbon. Wired velvet ribbon, about 2.5 to 4 inches wide, holds its loops for weeks and photographs beautifully. For a 14 inch wreath, allow around 3 yards.
Make four to six loops of equal size, pinch the centre, and secure it with a length of floral wire twisted tightly at the back. Cover the wire with a short wrap of ribbon, then cut long tails and finish the ends with a V-notch so they do not fray. Let the tails hang well below the wreath, at least as long as the wreath is wide, for that dramatic, styled look. Wire the bow to the frame at the bottom or slightly off-centre at the top rather than dead centre, which can look stiff.
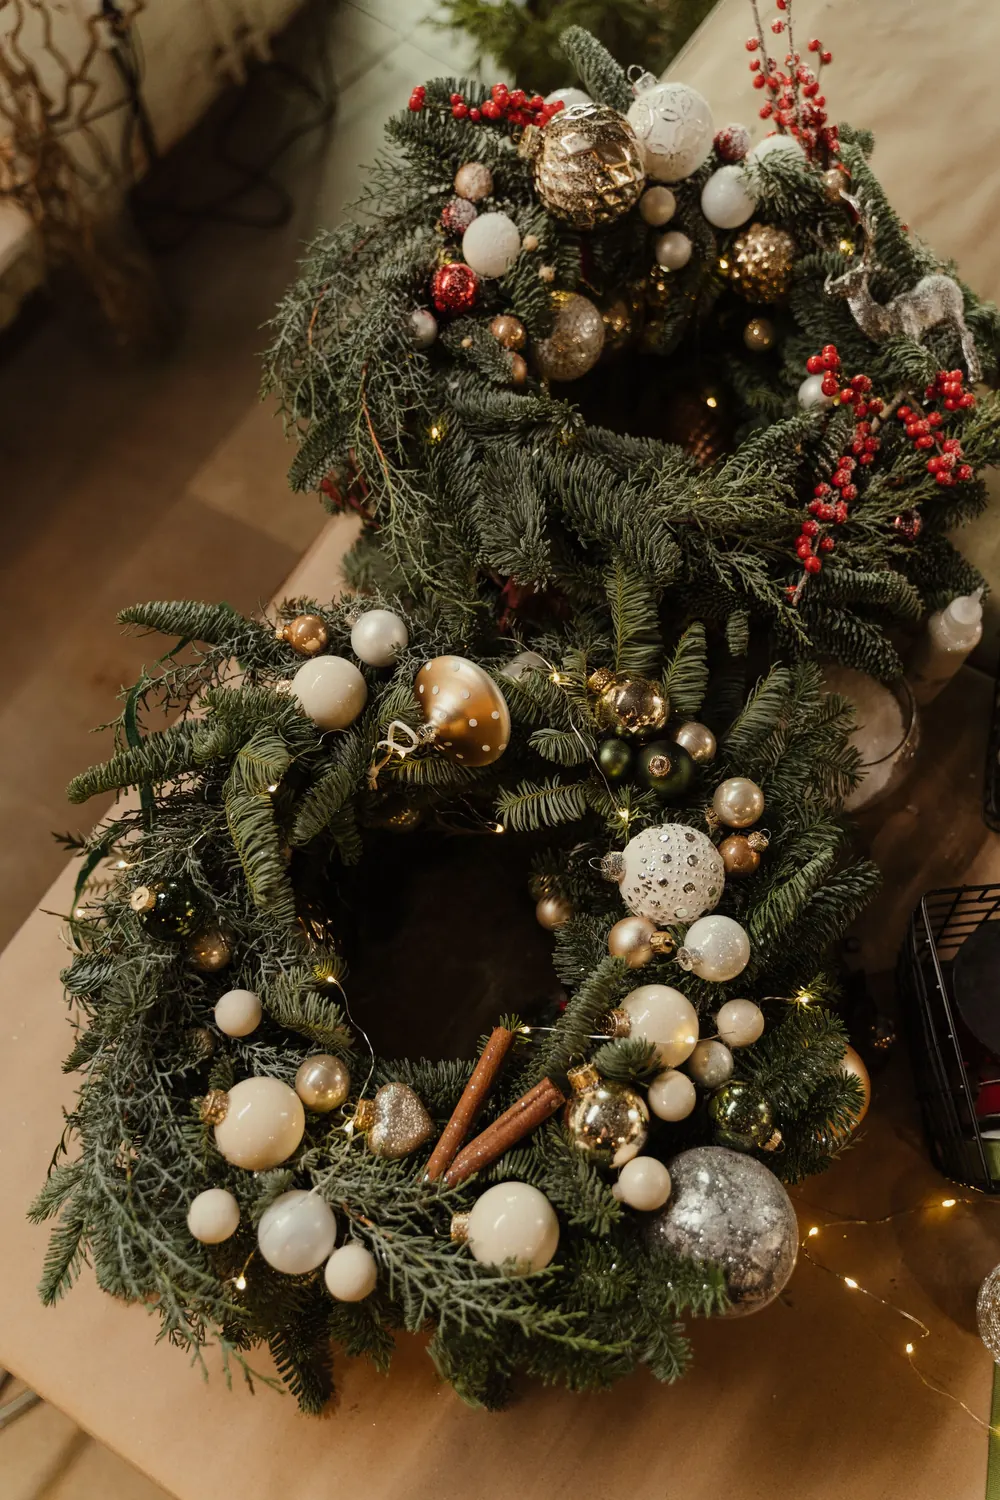
A bauble and ornament wreath
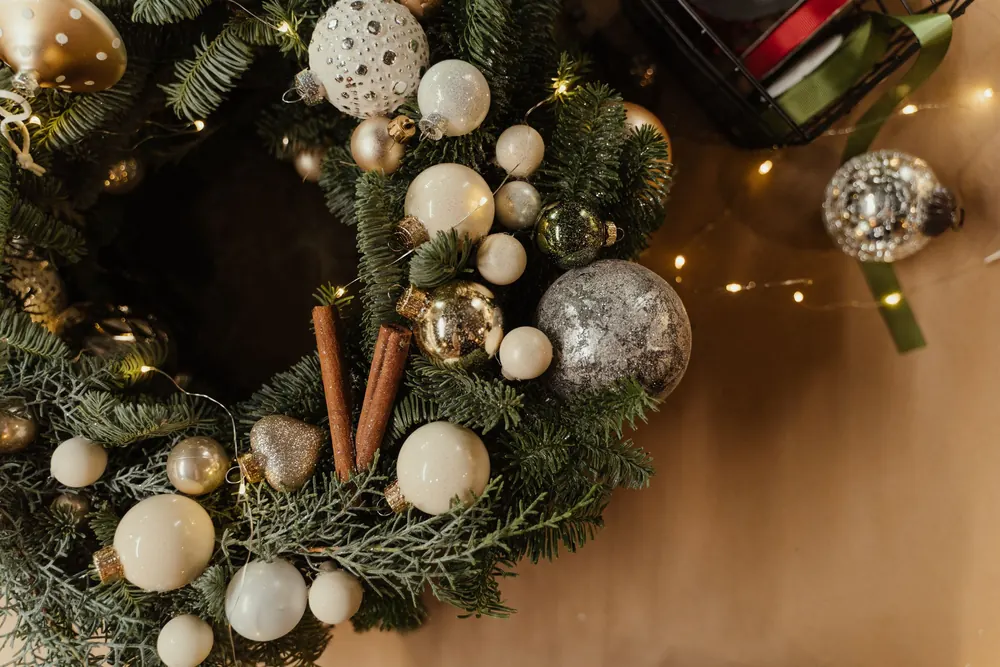
If you have a box of mismatched baubles, this is the wreath for them. Use shatterproof ornaments in three sizes and two or three colours, for example white, champagne and silver, then add a few cinnamon sticks and small pinecones to break up the shine.
Remove each ornament cap, add a dab of hot glue, and push the cap back in so it never pops loose. Then wire or glue the largest baubles first, spacing them in clusters of three, and fill the gaps with medium and small ones. Clusters look more expensive than an even scattering, and they let the greenery show. If you want a matching set, our DIY Christmas ornaments can be made in the same palette.
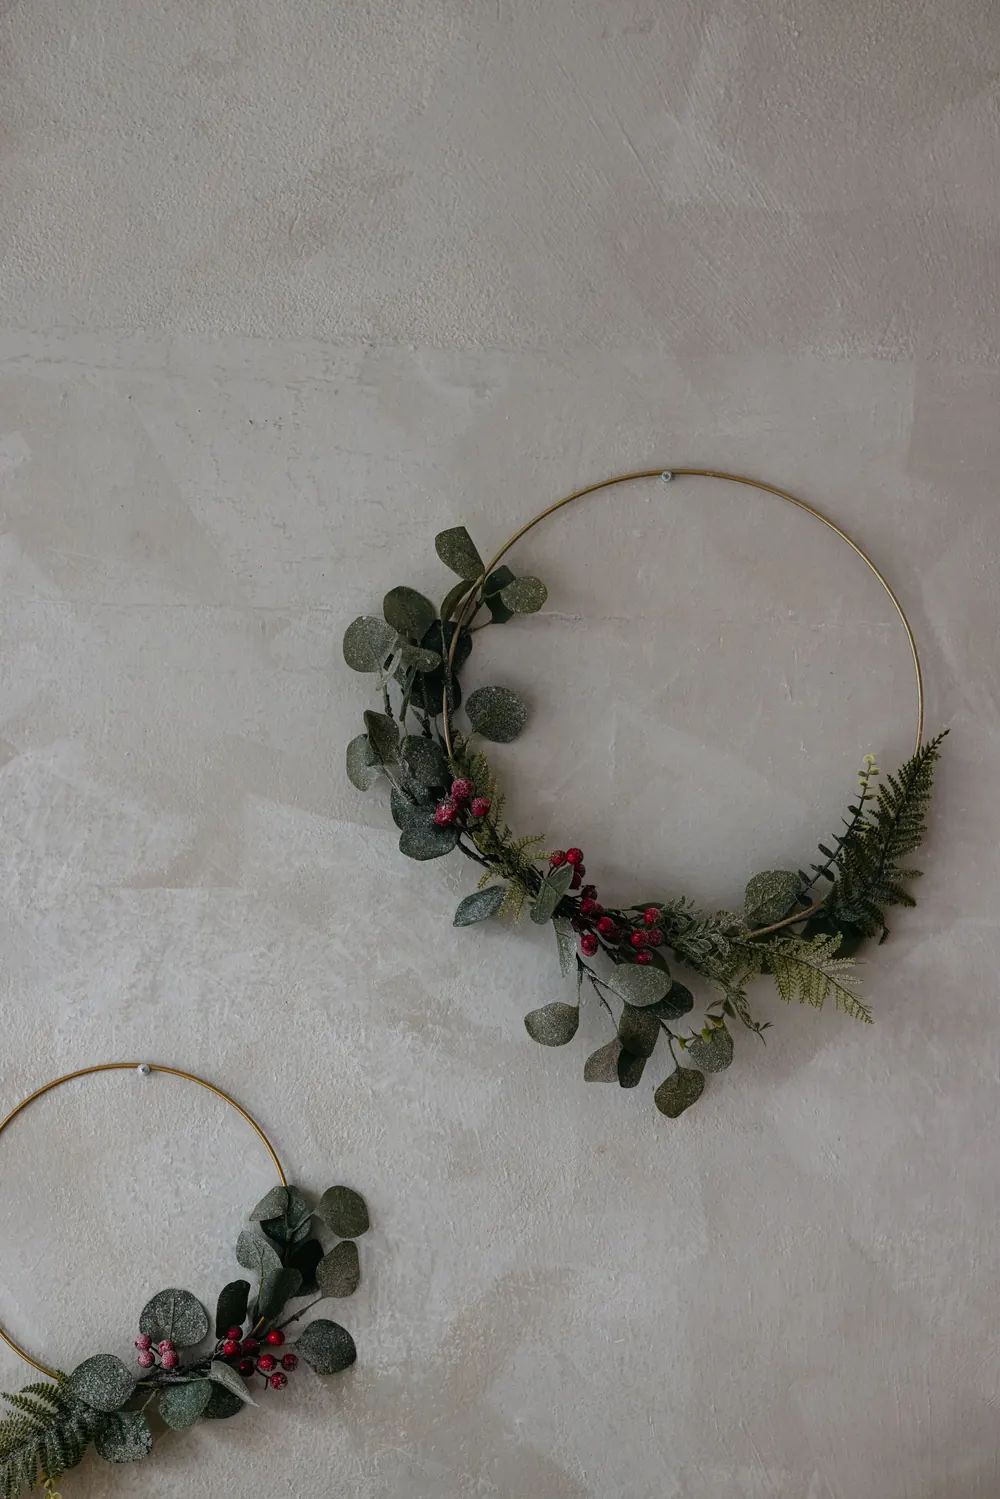
A minimal brass hoop wreath
Not every room needs a full ring of fir. A metal hoop wreath, made from a 10 to 16 inch brass or gold macrame hoop, takes about fifteen minutes and suits modern interiors, bedroom doors and small walls.
Cover only a third of the hoop. Gather six to eight stems of eucalyptus, olive or preserved ruscus, wire them into a neat bunch, and fix the bunch to the lower left of the hoop. Add a second smaller bunch facing the opposite way so the stems meet in the middle, then hide the join with a single sprig of berries or a small velvet bow. Hang two hoops of different sizes side by side for a gallery-wall effect.
A dried orange and spice wreath
Dried citrus glows when light comes through it and lasts for years in storage. Slice oranges about 5 mm thick, blot them dry, and bake at the oven's lowest setting, around 90 to 100°C (200°F), for three to four hours, turning every hour. They are ready when the centres are dry and glassy rather than sticky.
Wire four or five slices in small clusters around a greenery or grapevine base, tie cinnamon sticks into bundles of three with twine, and add a few star anise and small cones. Keep the colour palette tight, oranges, browns and deep green, so it reads as one design. It is lovely on a kitchen door, and it pairs naturally with a Christmas kitchen decor theme.
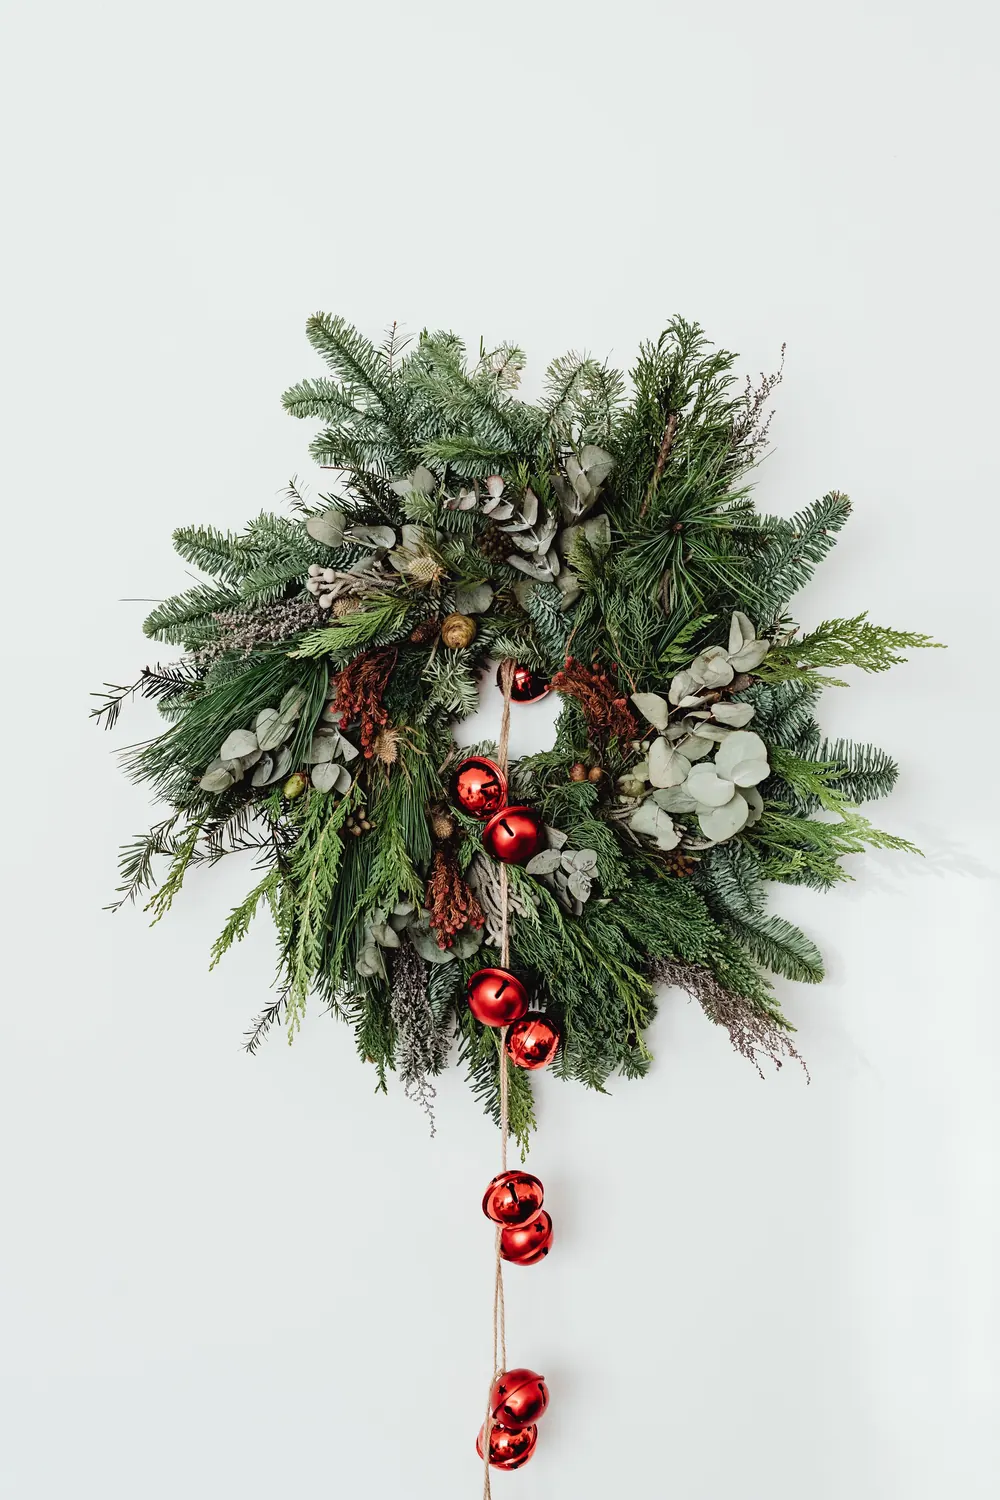
A jingle bell wreath
Jingle bells add sound as well as colour, which makes this a favourite for a front door that opens many times a day. Use a foam or wire frame, and attach bells with floral wire threaded through the loop at the top of each bell.
Start with large 40 mm bells around the inner ring, then work outwards with medium and small sizes until the frame is hidden. Red and gold bells look traditional; matte black and copper look modern. For a softer version, wire just a cascading cluster of bells to a greenery wreath and let them dangle from a ribbon, as in the photo above.

A pinecone wreath for the front door
Pinecones are free, durable and handle cold and wet weather better than almost any other decoration. Collect them dry, then bake on a lined tray at about 90°C (200°F) for 30 to 45 minutes to open the scales and remove any insects. Keep watching them; resin can scorch.
Wire each cone by wrapping a 20 cm length of wire around the lowest row of scales and twisting the tails together. Attach the largest cones first with their tips facing outward, then fill in with smaller ones, a few red ornaments and sprigs of greenery. A pinecone wreath on a wooden door is the most classic look of all, and it suits a Christmas entryway styled with lanterns and a runner.
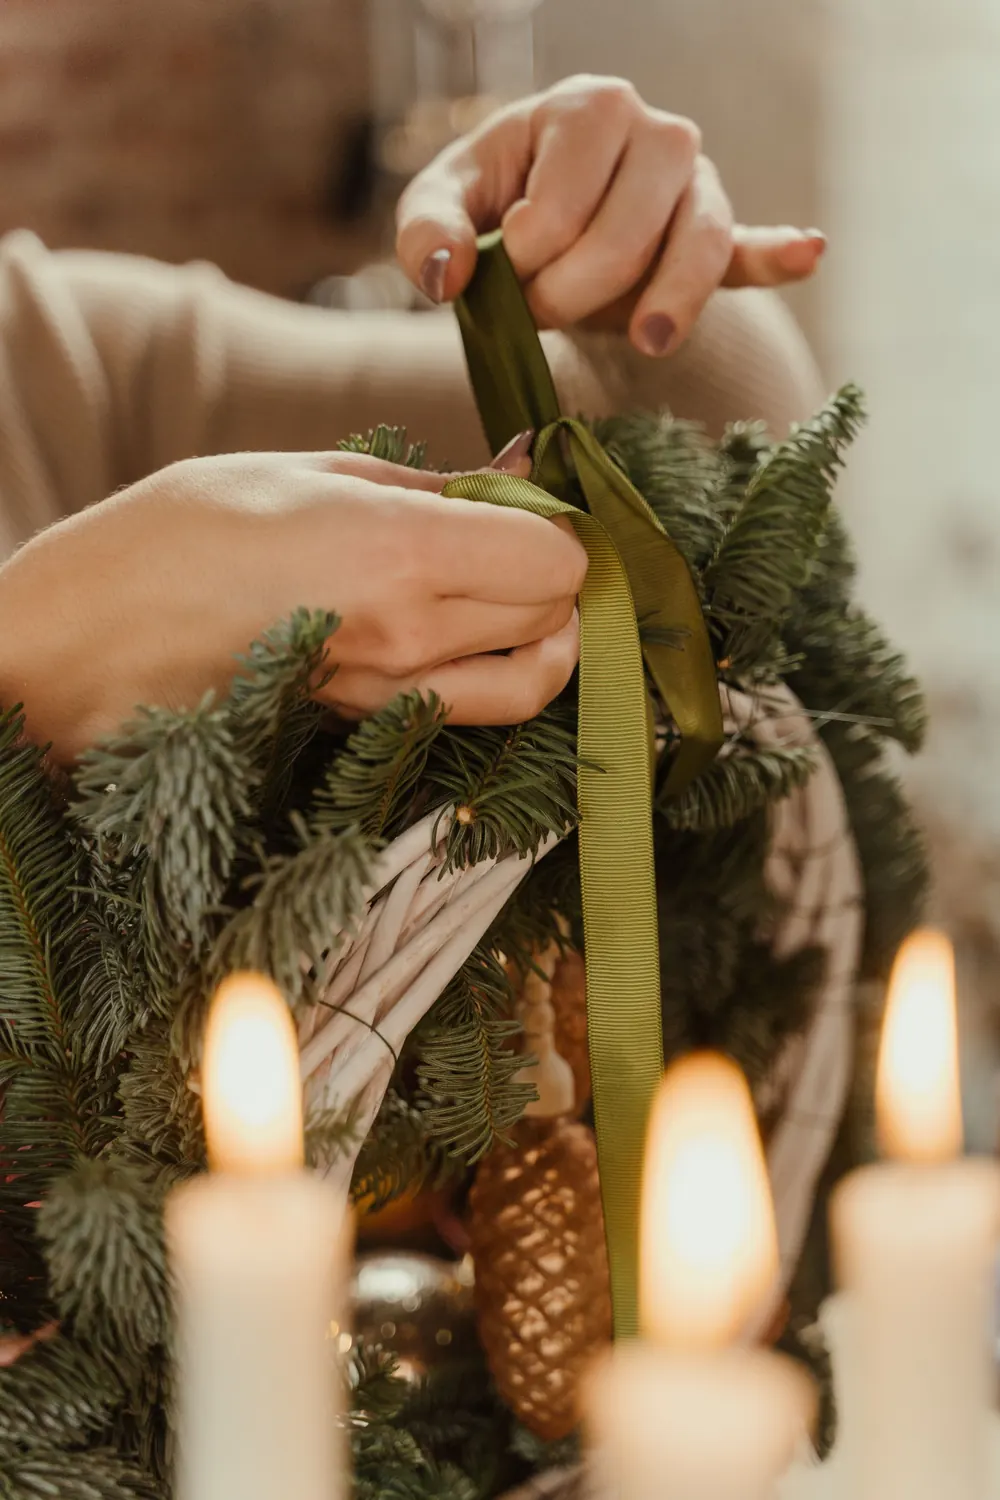
A ribbon-wrapped wreath
For a soft, elegant wreath with no needles to drop, wrap a straw or foam frame completely in ribbon or fabric strips. Pin the end of the ribbon to the back of the frame, wrap at a slight angle, overlapping each turn by half, and pin again when you reach the start.
Velvet in forest green or burgundy looks rich, while plaid flannel feels like a country cottage. Add one cluster of decoration, a sprig of greenery, two cones and a bow, at the lower right. Since it contains nothing fresh, it can hang indoors near a fireplace, as long as it stays well away from open flames and candles.
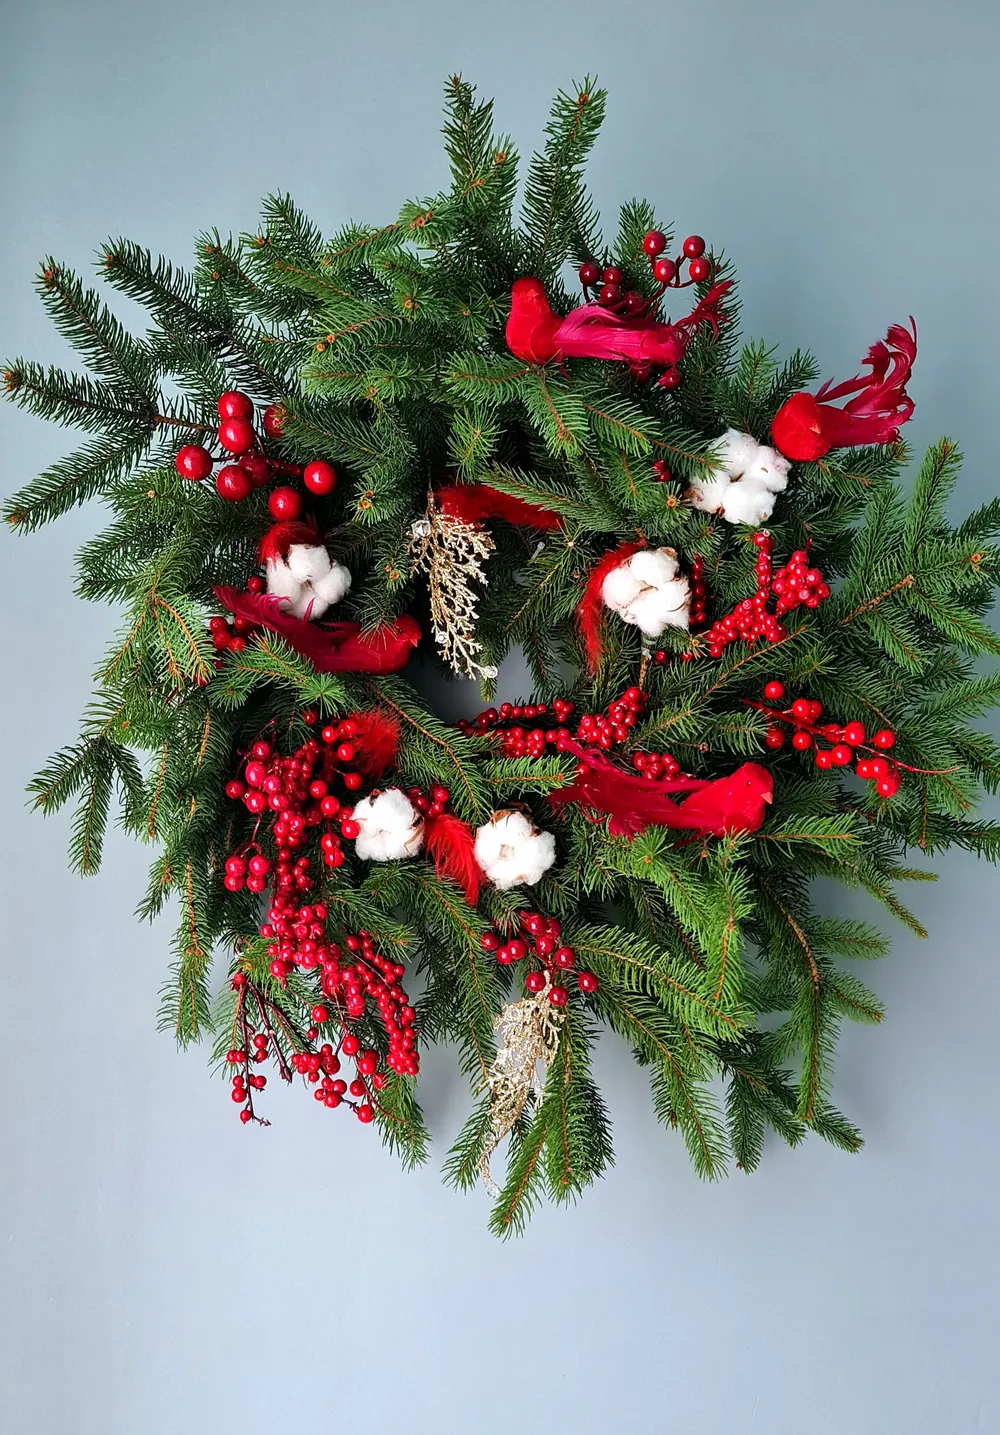
A berry and cotton farmhouse wreath
Red berries against fir is the most recognisable Christmas colour combination, and adding cotton bolls or white flowers gives it a farmhouse feel. Use faux berry picks for longevity, since real holly and many berries are toxic to pets and children.
Distribute the berries in three groups around the ring, then tuck cotton bolls between them. Keep a little greenery showing between every cluster. If you love this look, carry it to the mantel with a matching swag; our Christmas mantel decor ideas show how to repeat a wreath's colours along a garland.
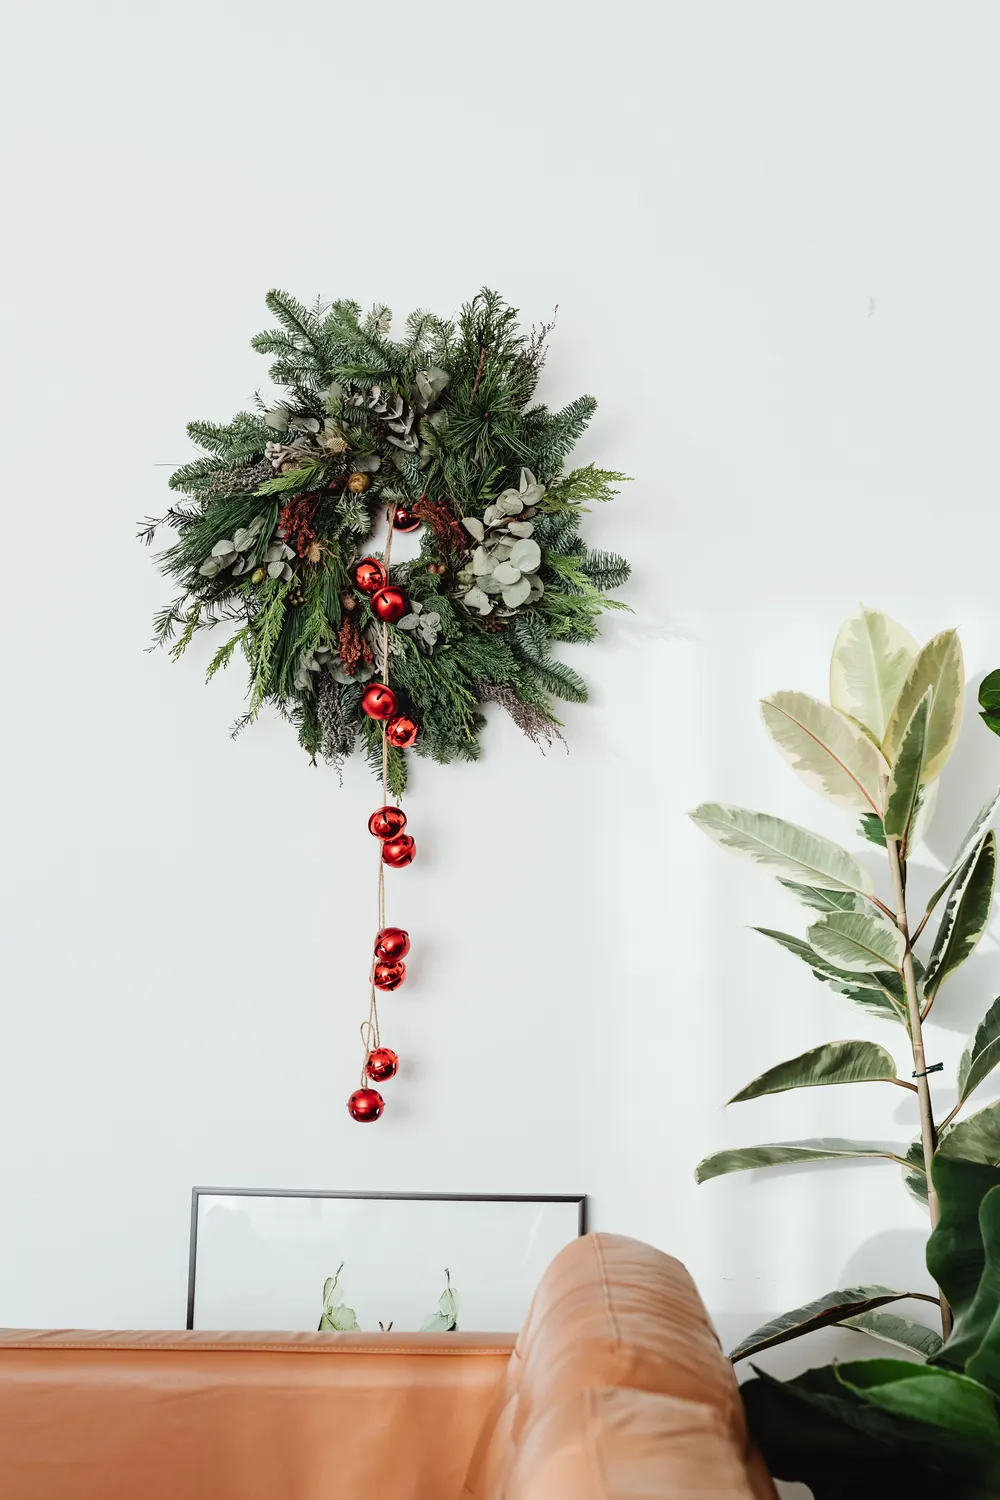
Hanging a wreath indoors
Wreaths are not only for front doors. Indoors, hang one above a sofa, on a mirror, on the back of a kitchen chair or on an internal door. Over furniture, the bottom of the wreath should sit about 8 to 10 inches above the back of the sofa or console.
For walls, use a removable adhesive hook rated for at least twice the wreath's weight, or hang it from a length of ribbon looped over a picture rail. A long ribbon drop with a few baubles tied along it, as in the photo above, makes even a small wreath look important. Bedrooms get the same treatment in our Christmas bedroom decor ideas.
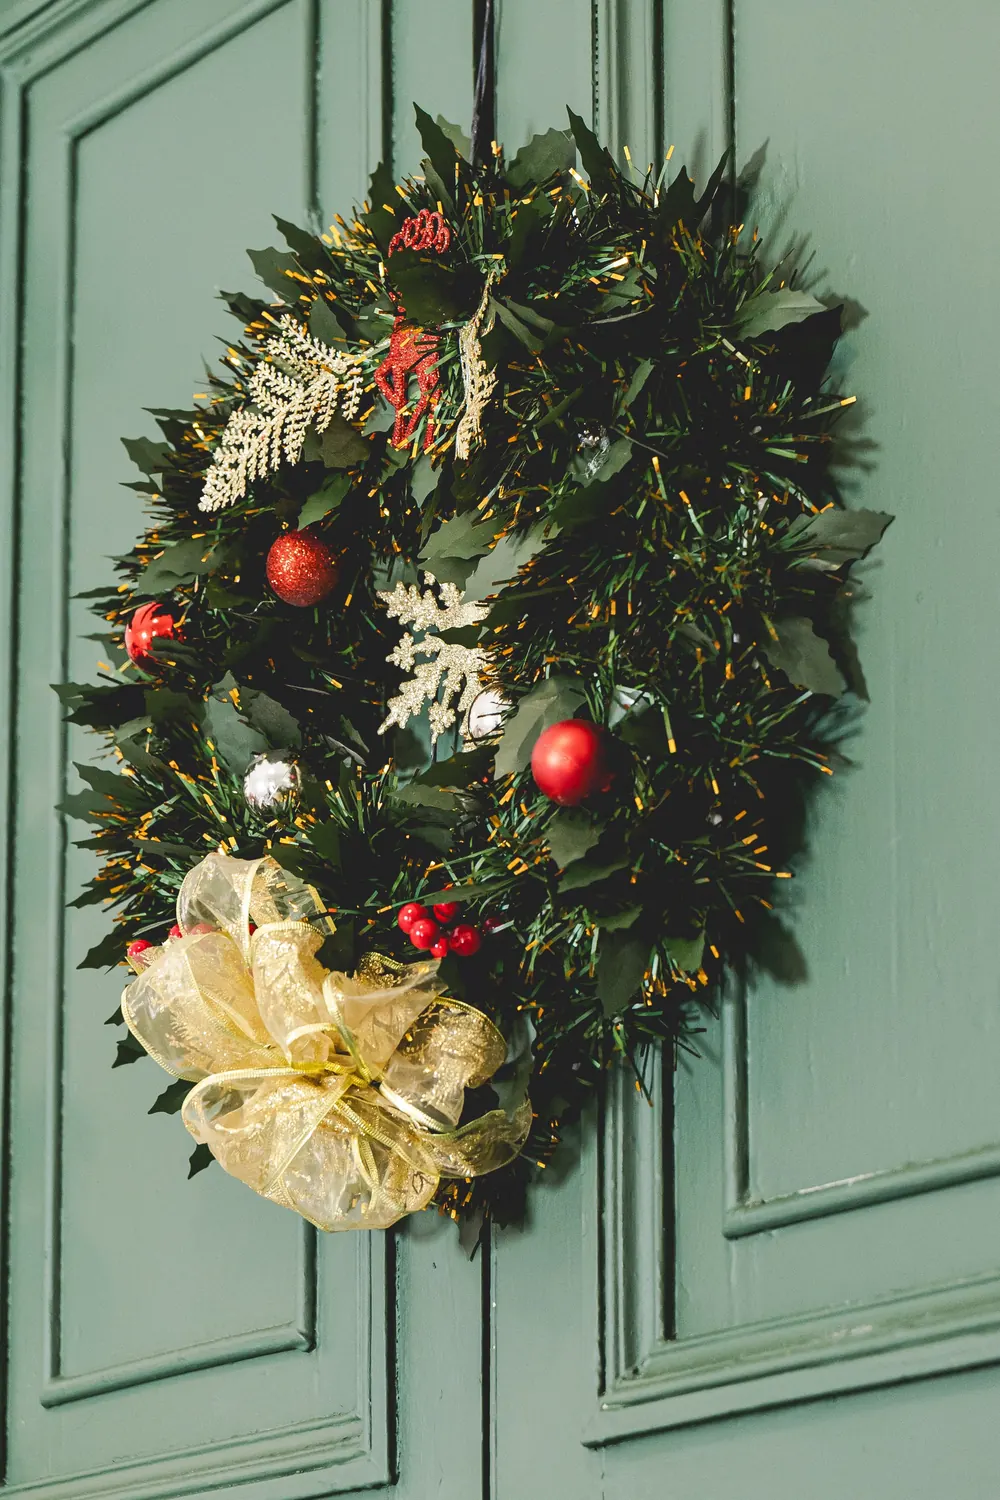
Sizing a wreath to your door
Size is the detail most DIY wreaths get wrong. A standard front door is about 36 inches wide, and a wreath of 22 to 24 inches overall, including greenery, looks balanced on it. On a narrower 30 or 32 inch door, 18 to 22 inches is right. Remember that greenery adds roughly 4 to 6 inches to the diameter of the frame, so a 14 inch frame gives a finished wreath of about 20 inches.
Hang the wreath so its centre sits roughly at eye level, about two-thirds of the way up the door, and use an over-the-door hanger padded with felt to protect the paint. On glass-panelled doors, use a hook on the inside and a fishing line loop so the wreath appears to float.
Start from a grapevine base
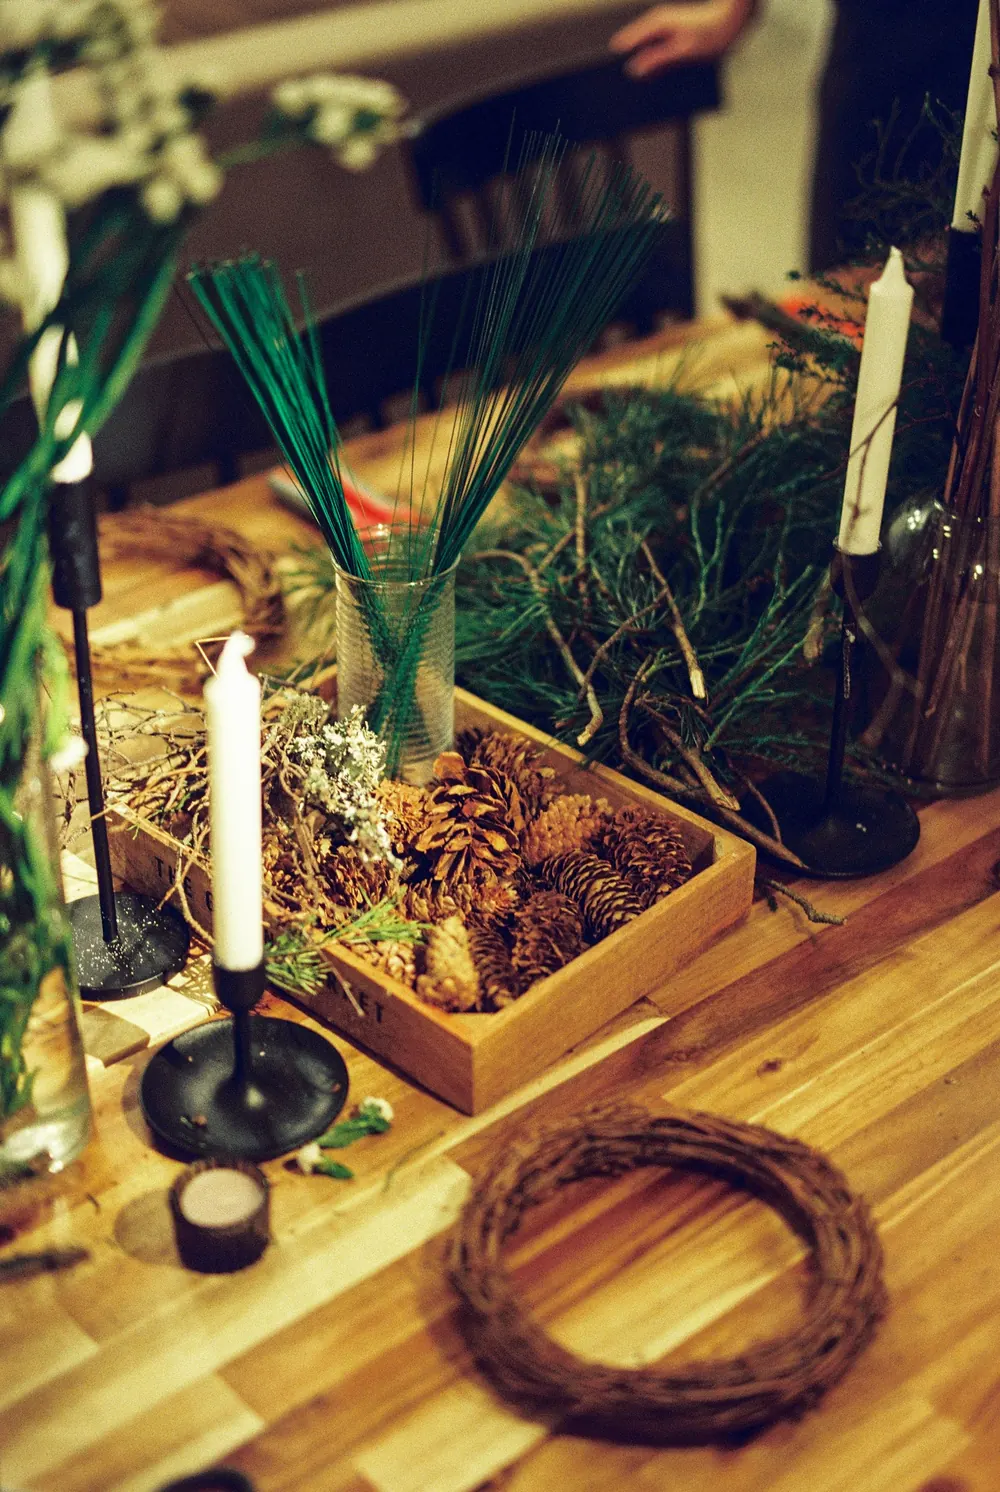
Grapevine wreaths are the most forgiving base for beginners. The twisted vines give you endless places to tuck stems, so you can build a design without wire at all, and the natural brown texture looks finished even with very little decoration.
Try an asymmetric style: cover only the bottom third with greenery, cones and a small bow, and leave the rest of the vine bare. Once the season is over, pull the decorations off and reuse the base next year. A grapevine wreath laid flat on a table with candles in the centre also makes an easy centrepiece; for a version with four candles, see our Advent candle wreath ideas.
Tools that make wreath-making easier
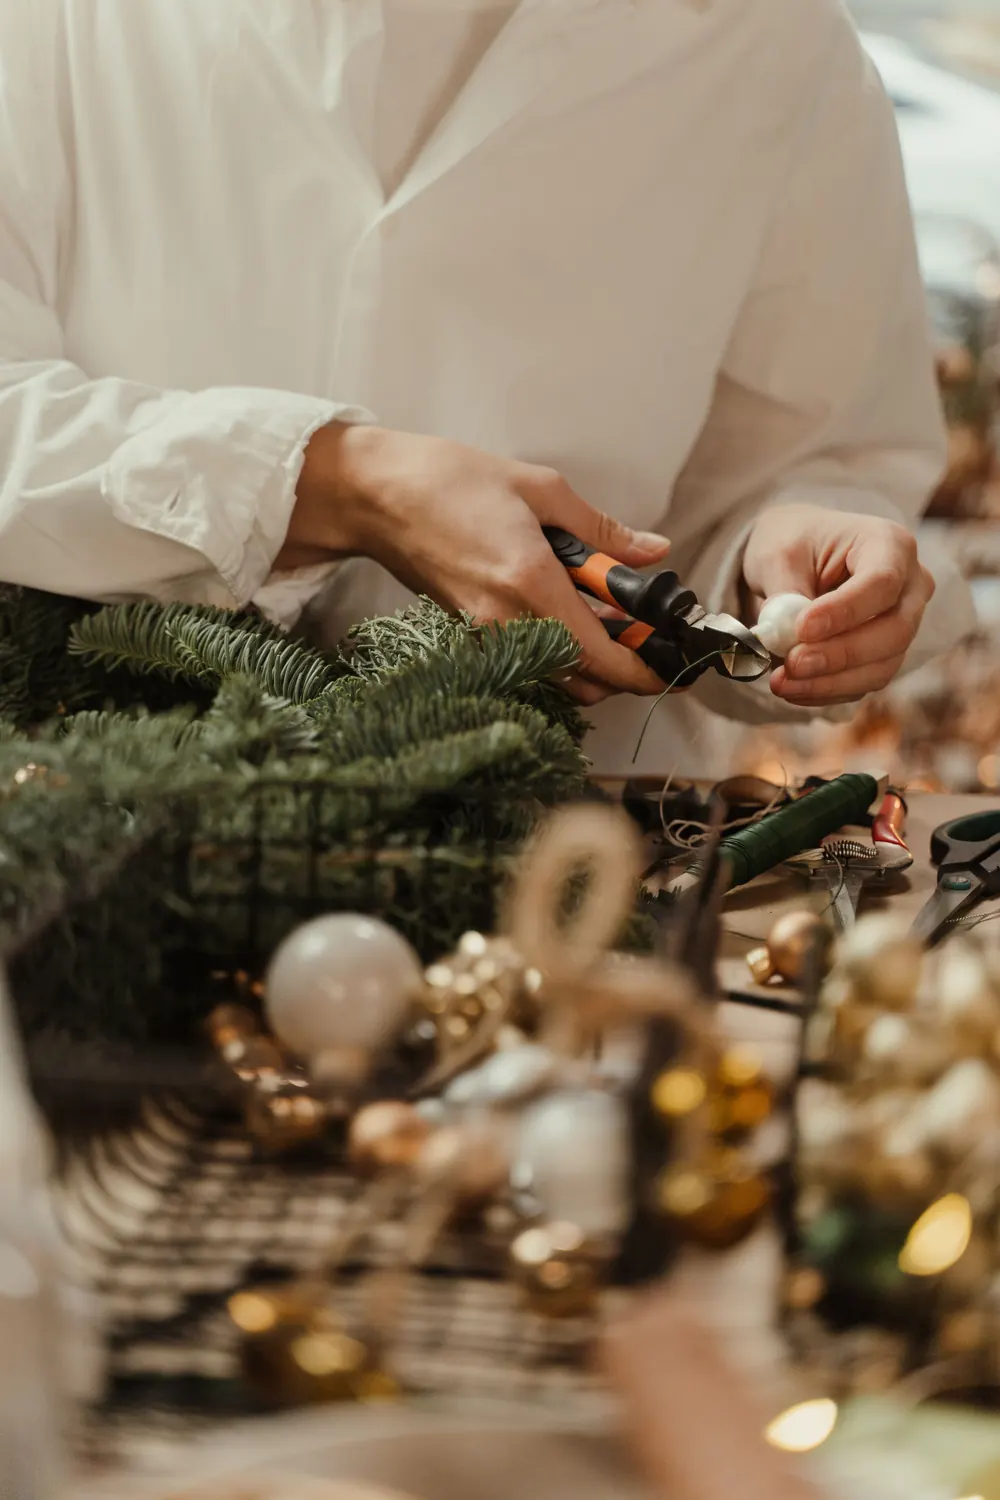
A few inexpensive tools make the job faster and neater. Needle-nose pliers help twist wire tightly in tight spots. A low-temperature glue gun is safer for ornaments and dried fruit than a high-temperature one. Floral tape wraps the ends of wired picks so they do not scratch doors, and a small spray bottle lets you mist fresh greenery as you work.
Work on a large table with everything laid out by type: greens, accents, fixings. Making two or three wreaths in one session is efficient, and a matching wreath for a neighbour or friend makes a thoughtful gift.
Make it last all season
Fresh wreaths last much longer outside than inside. According to University of Nebraska extension advice, an outdoor wreath in cold weather can stay fresh for three to four weeks, while an indoor one usually lasts seven to ten days. A few habits help:
- Mist fresh wreaths every few days, or spray once with an anti-transpirant before hanging.
- Keep wreaths away from radiators, vents and direct sun. A wreath between a front door and a glass storm door dries very quickly.
- Never hang fresh greenery near candles or fireplaces. The University of Illinois Extension warns that cut evergreens dry out in warm homes and become very flammable.
- Store faux and dried wreaths flat or hung in a large bag in a cool, dry place.
Get the Home Journal Co letter
One thoughtful email a week with our newest guides and seasonal ideas. No spam, unsubscribe anytime.
FAQ
How long does it take to make a DIY Christmas wreath?
A fresh-greenery wreath on a 14 inch frame takes about one to one and a half hours for a first-timer. Minimal hoop wreaths and ribbon wreaths can be finished in 15 to 30 minutes.
What greenery lasts longest on a wreath?
Fir, especially noble and Fraser fir, holds its needles best. Cedar, juniper and boxwood also last well, while eucalyptus dries gracefully and keeps its colour.
Is it cheaper to make your own Christmas wreath?
Usually, yes. A wire frame, paddle wire and ribbon cost a few dollars and can be reused, and greenery from your own tree trimmings is free. Designer wreaths of the same size often cost several times as much.
How do I stop my wreath from looking lopsided?
Make every bundle the same size by comparing it to a reference bundle, keep wiring in the same direction, and hang the wreath before adding decorations so you can see where it needs balance.
Save this guide for later — this image is sized for pinning.
Some posts may contain affiliate links; see our disclosure. Photography: Anna Lupa; Vladimir Konoplev; Laura Chouette; cottonbro studio; Lisett Kruusimäe; cottonbro studio; https://kaboompics.com/; Nati; cottonbro studio; Vira Dykun; https://kaboompics.com/; Magaly Taboada; Vladimir Konoplev; cottonbro studio via Pexels.