Christmas Tree Decorating Ideas: The Step-by-Step Order Designers Use
Christmas tree decorating ideas with a clear order of work: how many lights per foot, how to weave garland and ribbon, how to layer ornaments by size, pick a colour scheme, finish the tree skirt and topper, and avoid the most common mistakes.
A beautifully decorated Christmas tree is mostly about order and quantity. Professional decorators work in the same sequence every time: shape the branches, add lights, then garland or ribbon, then ornaments from largest to smallest, and finally the topper and skirt. This guide explains each step with the numbers that matter, plus colour schemes and fixes for the problems most trees have.
Step 1: Shape the branches
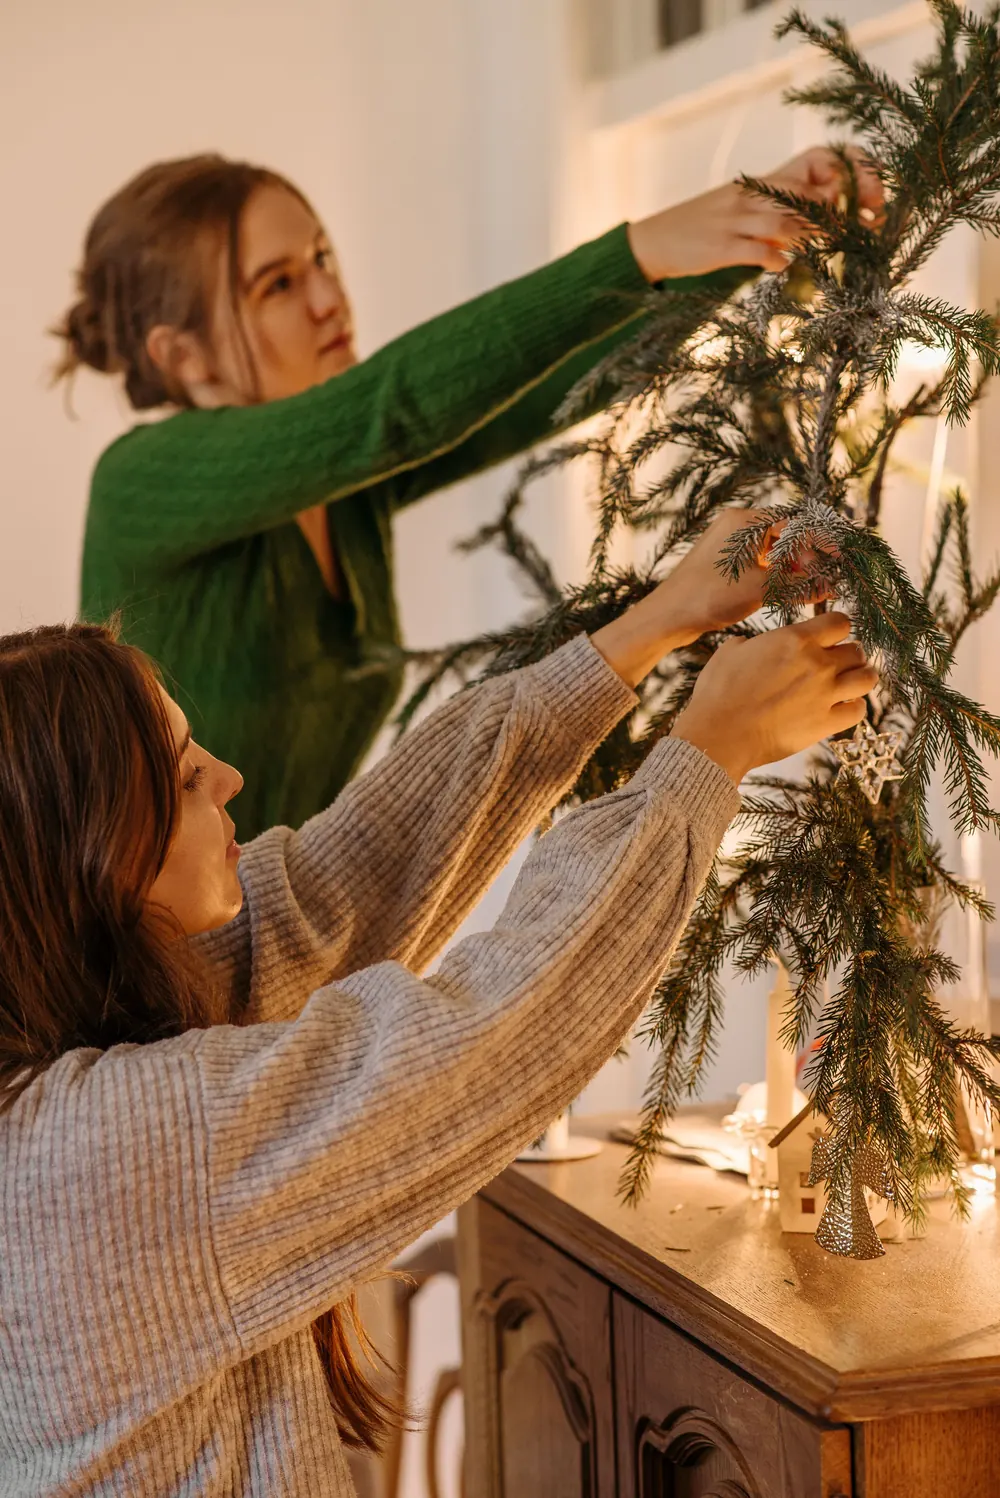
If you have an artificial tree, fluff it before anything else. Start at the bottom and work up, separating every tip so some point up, some sideways and some down. This hides the central pole and gives ornaments places to sit. It takes 30 to 60 minutes for a 7 ft tree and makes more difference than any decoration.
For a real tree, let it settle in its stand for a day so the branches drop into their natural position.
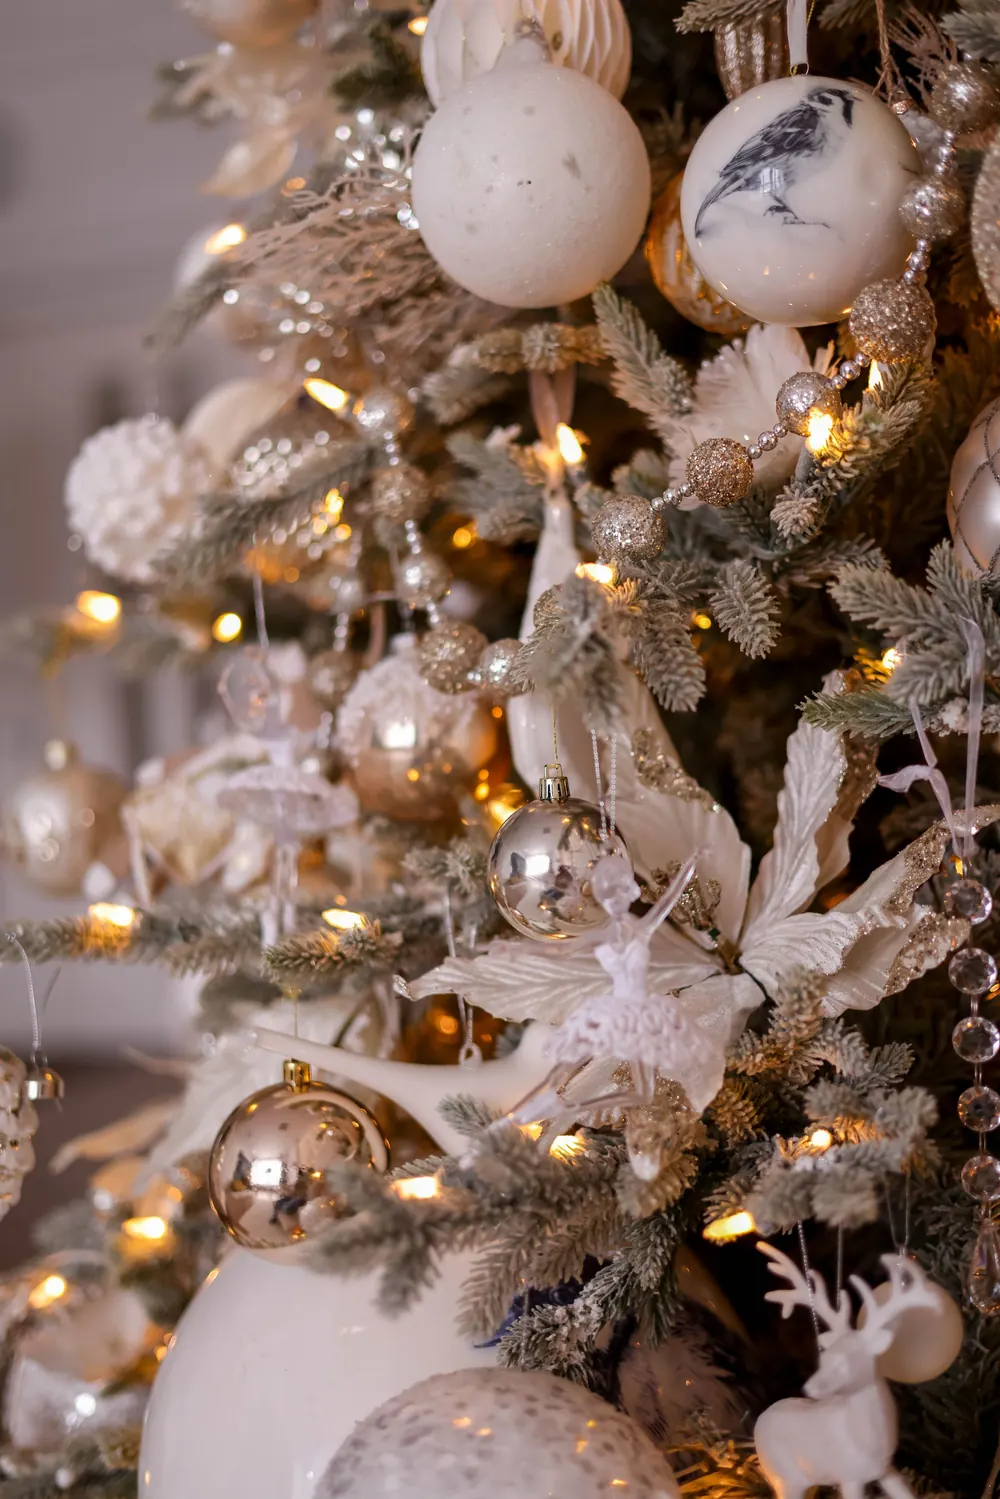
Step 2: Add the lights
A good rule is about 100 lights per foot of tree height for a full, glowing look, or 50 per foot for a softer effect. So a 7 ft tree needs roughly 350 to 700 lights.
Plug the strings in before you start to check they work. Then wrap each branch: run the string from the trunk to the tip and back again, rather than circling the outside of the tree. This puts light deep inside the branches and makes the tree glow from within. Work from the bottom up and from the trunk outward.
Choose warm white for a classic look or multicoloured for a nostalgic one, but do not mix the two.
Step 3: Garland or ribbon
Ribbon gives a tree a designer finish. You need about 9 ft of ribbon per foot of tree, using a wired ribbon 6 to 10 cm (2.5 to 4 in) wide so it holds its shape.
There are two easy methods:
- Cascading: cut lengths of 60 to 90 cm, tuck one end in near the top, let it fall in a loose loop, tuck it again lower down and repeat in vertical lines.
- Spiral: wrap a long piece diagonally around the tree, tucking it into the branches every 30 cm so it dips in and out.
Bead garland and tinsel go on after ribbon, draped loosely between the ribbon lines.
Step 4: Ornaments in three sizes
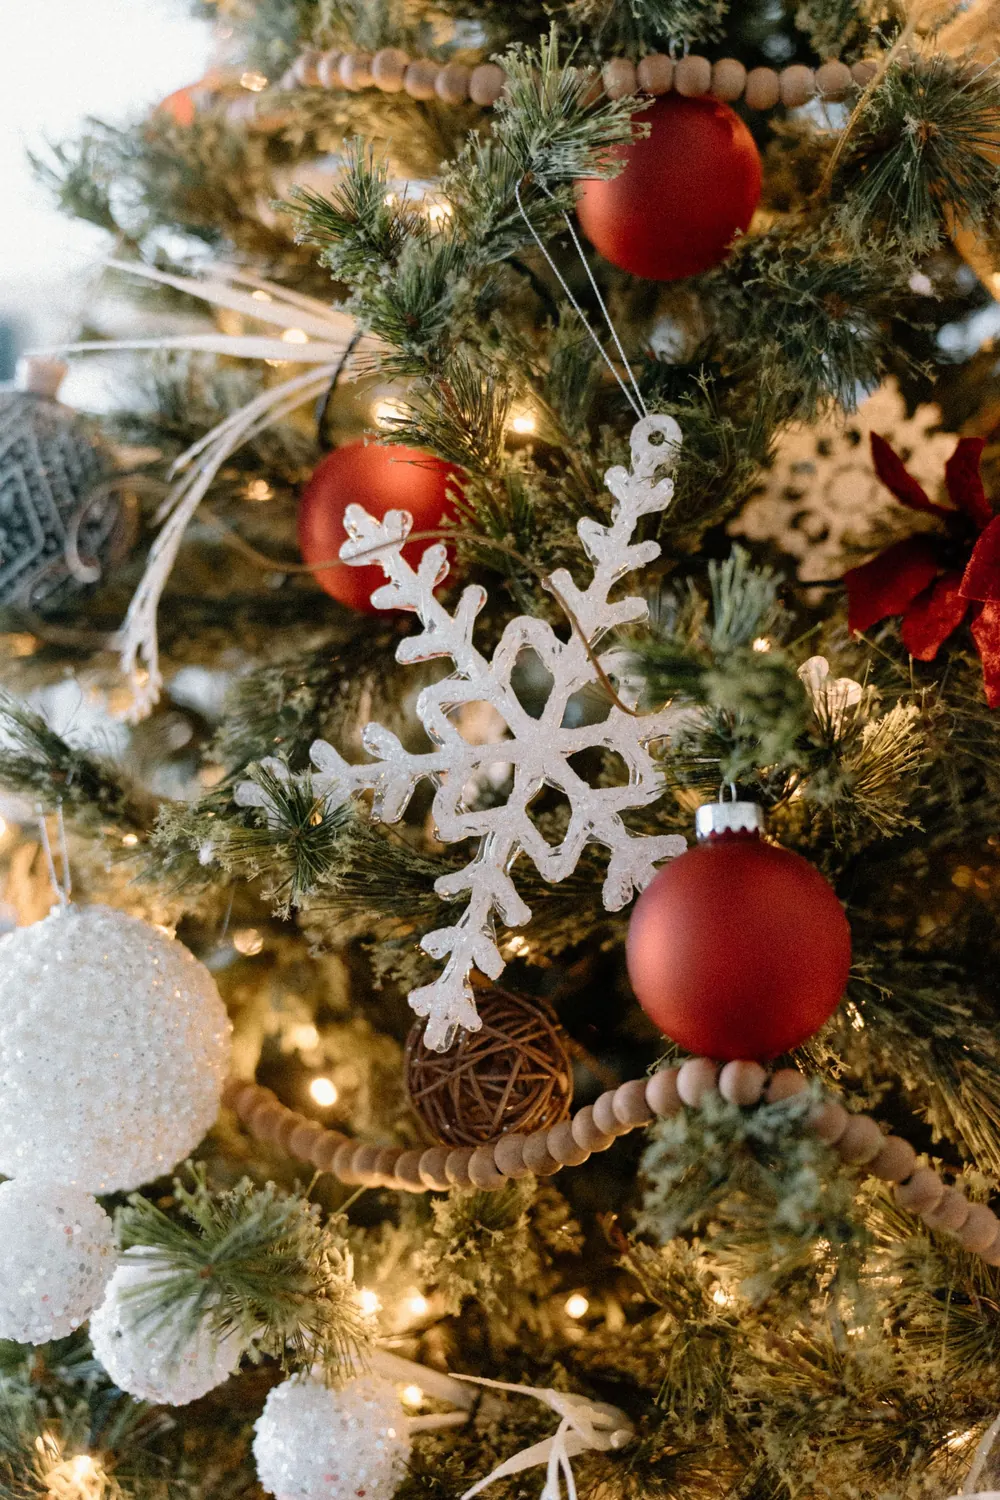
Plan on around 20 ornaments per foot of tree for a full look. Divide them into three sizes and hang them in this order:
- Large statement pieces (10 cm and up) first, spaced evenly and placed deeper in the branches to add depth.
- Medium ornaments next, filling the gaps in a loose zigzag.
- Small ornaments and novelty pieces last, on the branch tips where they catch the light.
Group three ornaments of the same colour together in a few places. Clusters look more intentional than single baubles dotted evenly.
Step 5: Fillers and picks
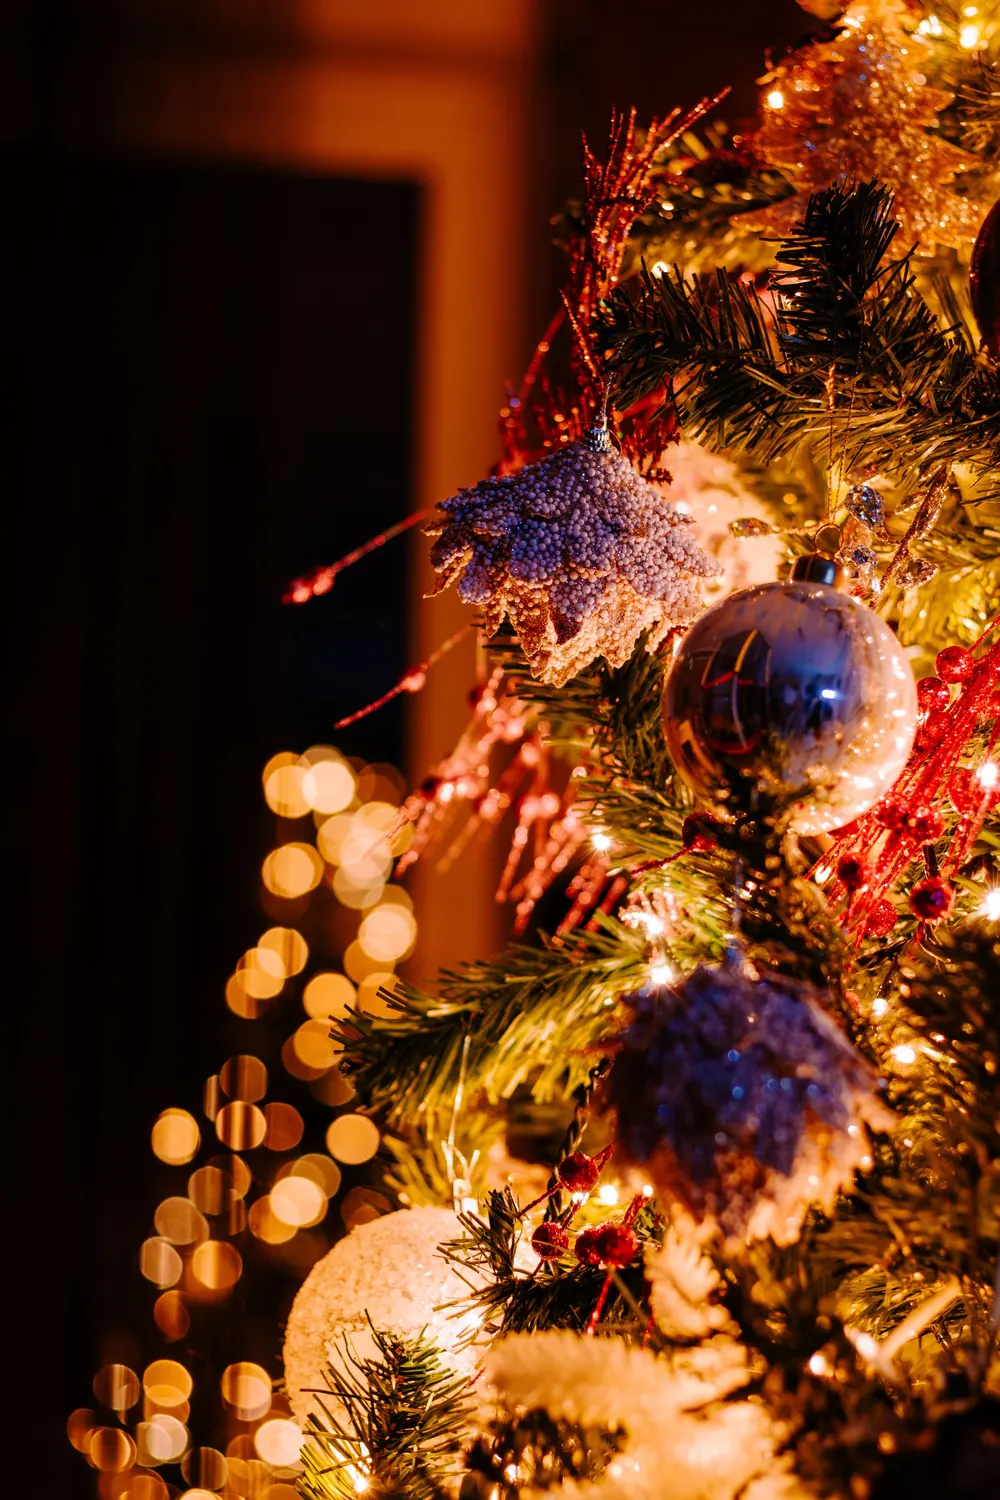
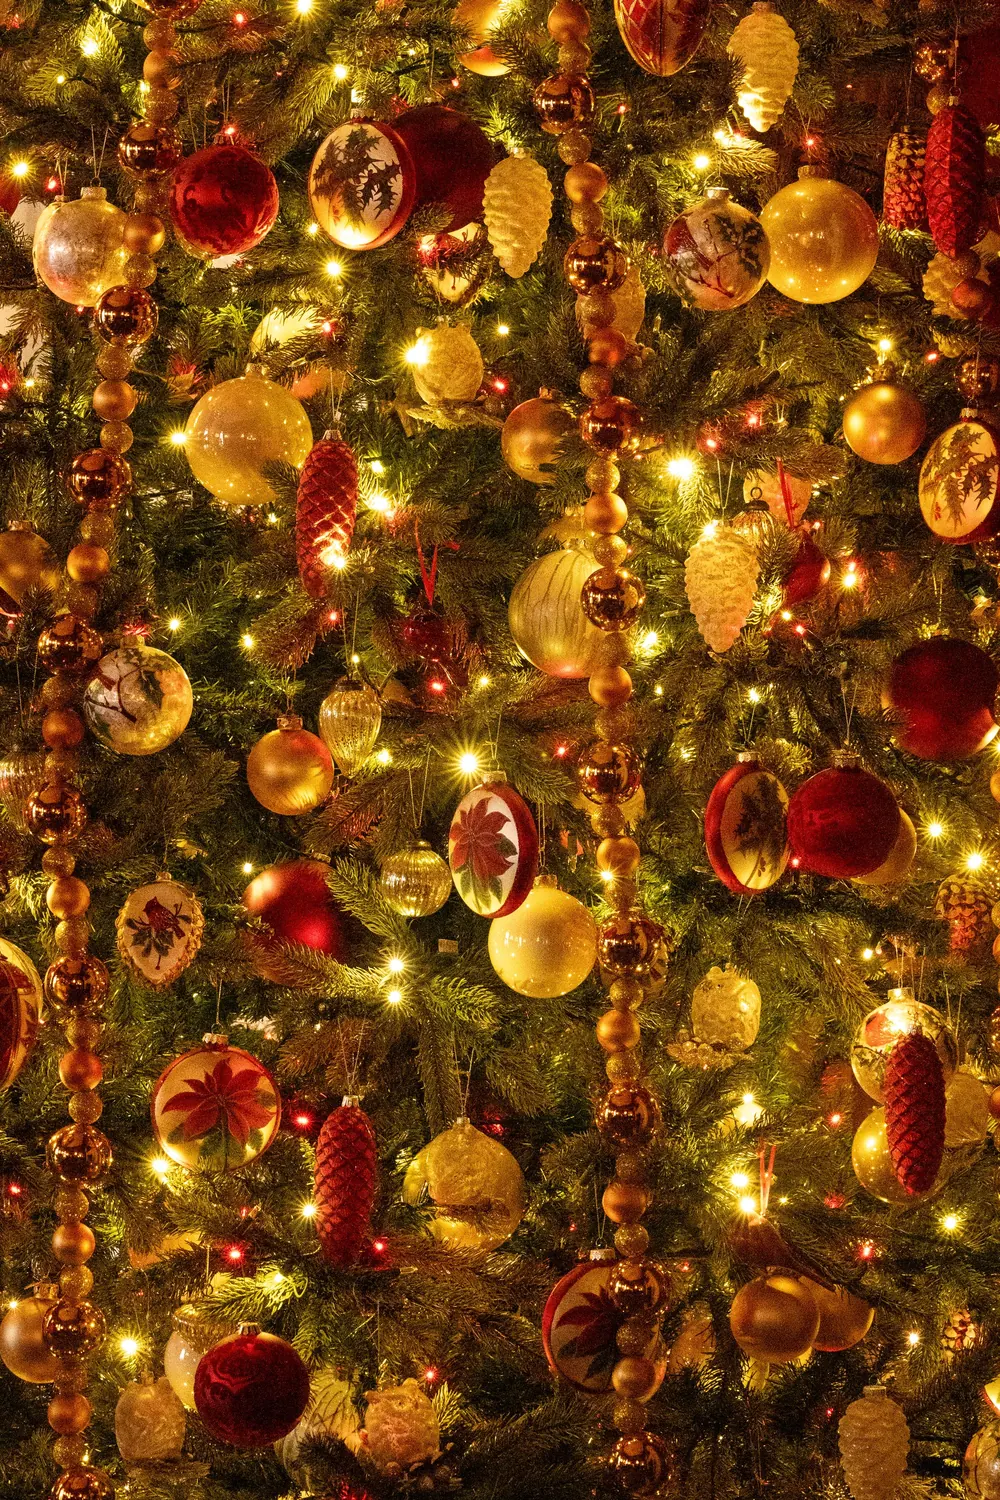
Floral picks such as berries, glittered sprays, pine cones or dried hydrangea fill gaps and add texture. Push their stems deep into the branches at an angle so they look as if they grow out of the tree. Ten to fifteen picks are enough for a 7 ft tree.
Step 6: Topper and skirt
Add the topper last. A star or angel should be in proportion: about the width of the top 30 cm of the tree. A ribbon bow topper with long tails cascading down is an easy option that matches a ribbon scheme.
Finish the base with a tree skirt or collar. Woven baskets and metal collars look neat and hide the stand; a faux-fur or knit skirt feels cosy. Place a few wrapped gifts around it to fill the space.
Colour scheme ideas
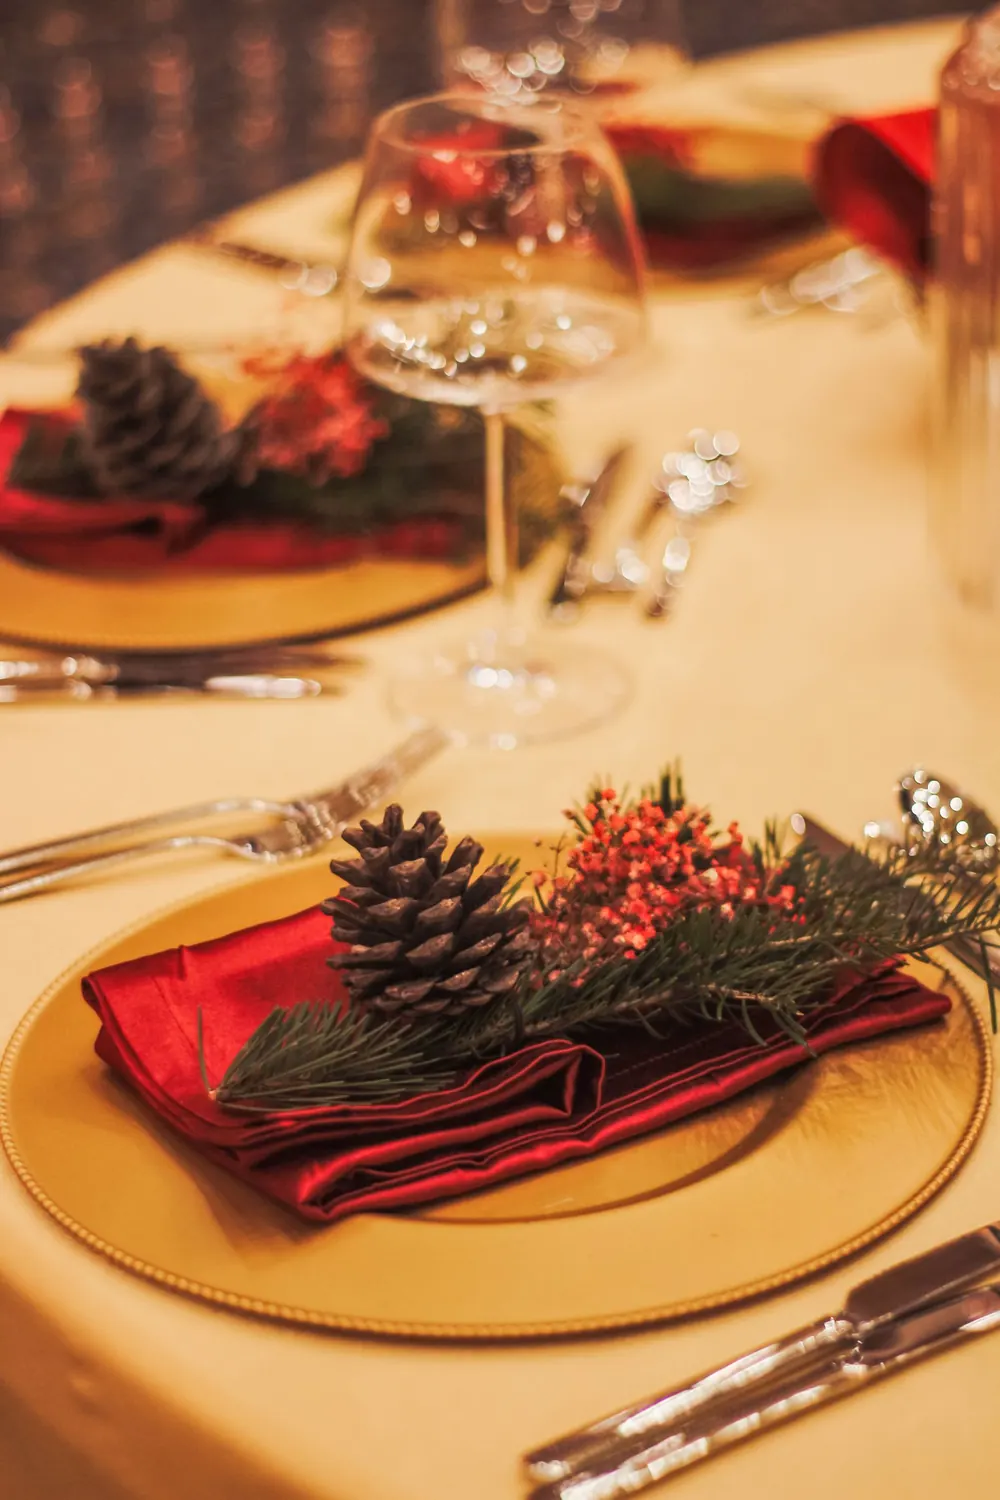
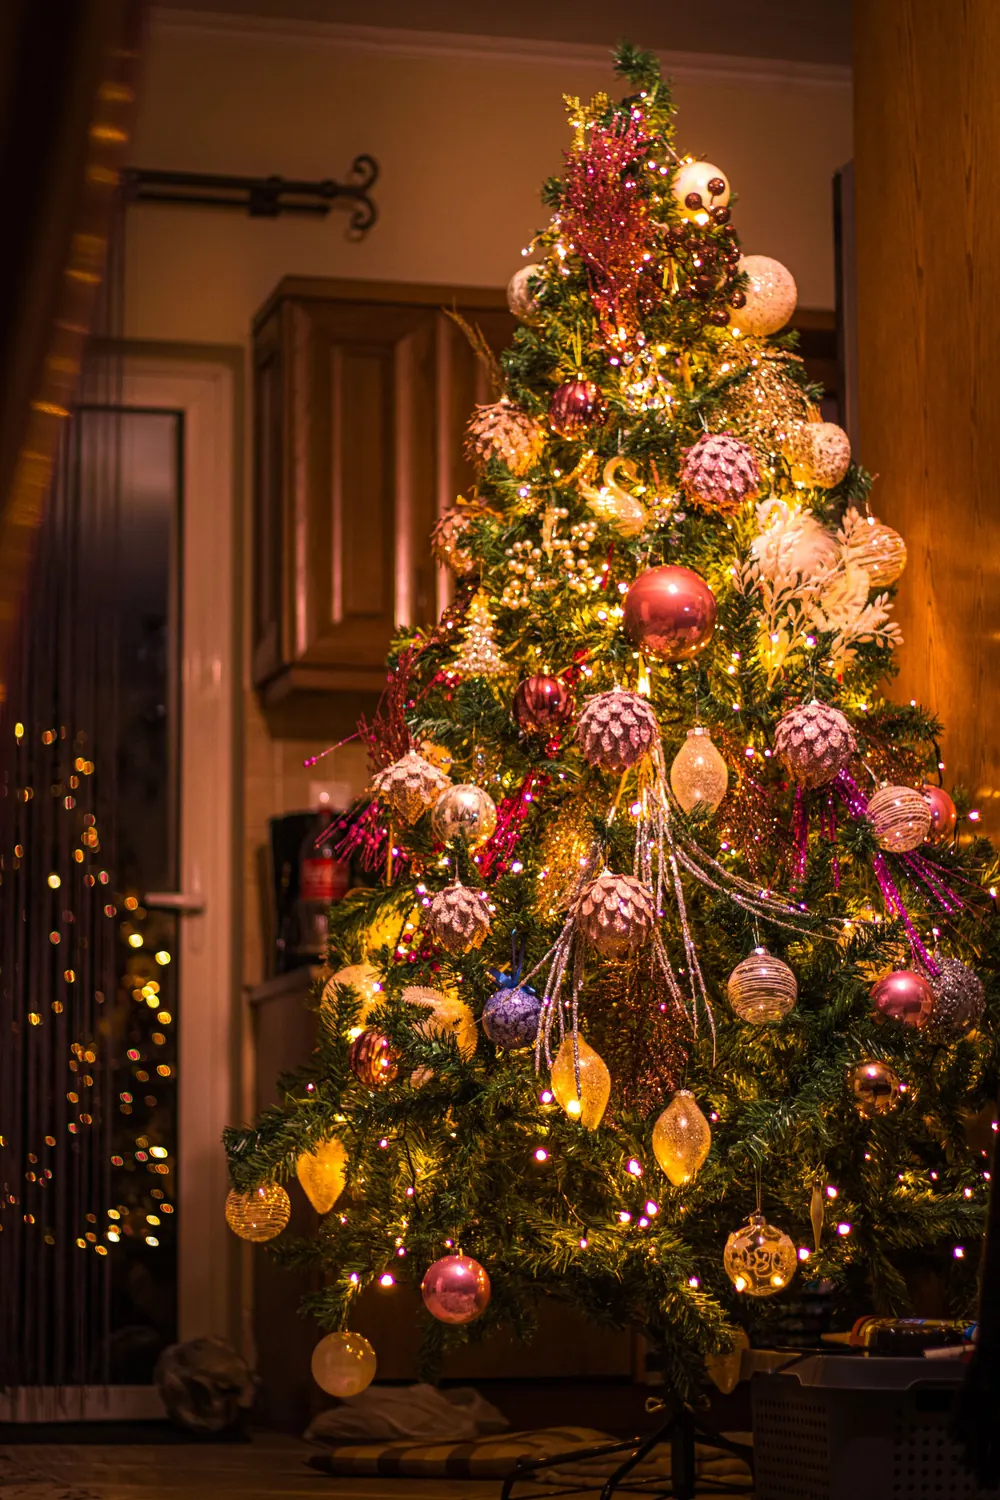
- Classic: red, gold and green with warm white lights.
- Scandinavian: white, wood, natural paper stars and plenty of green.
- Winter frost: silver, white and pale blue with warm white lights to stop it looking cold.
- Vintage: multicoloured lights, glass baubles and tinsel.
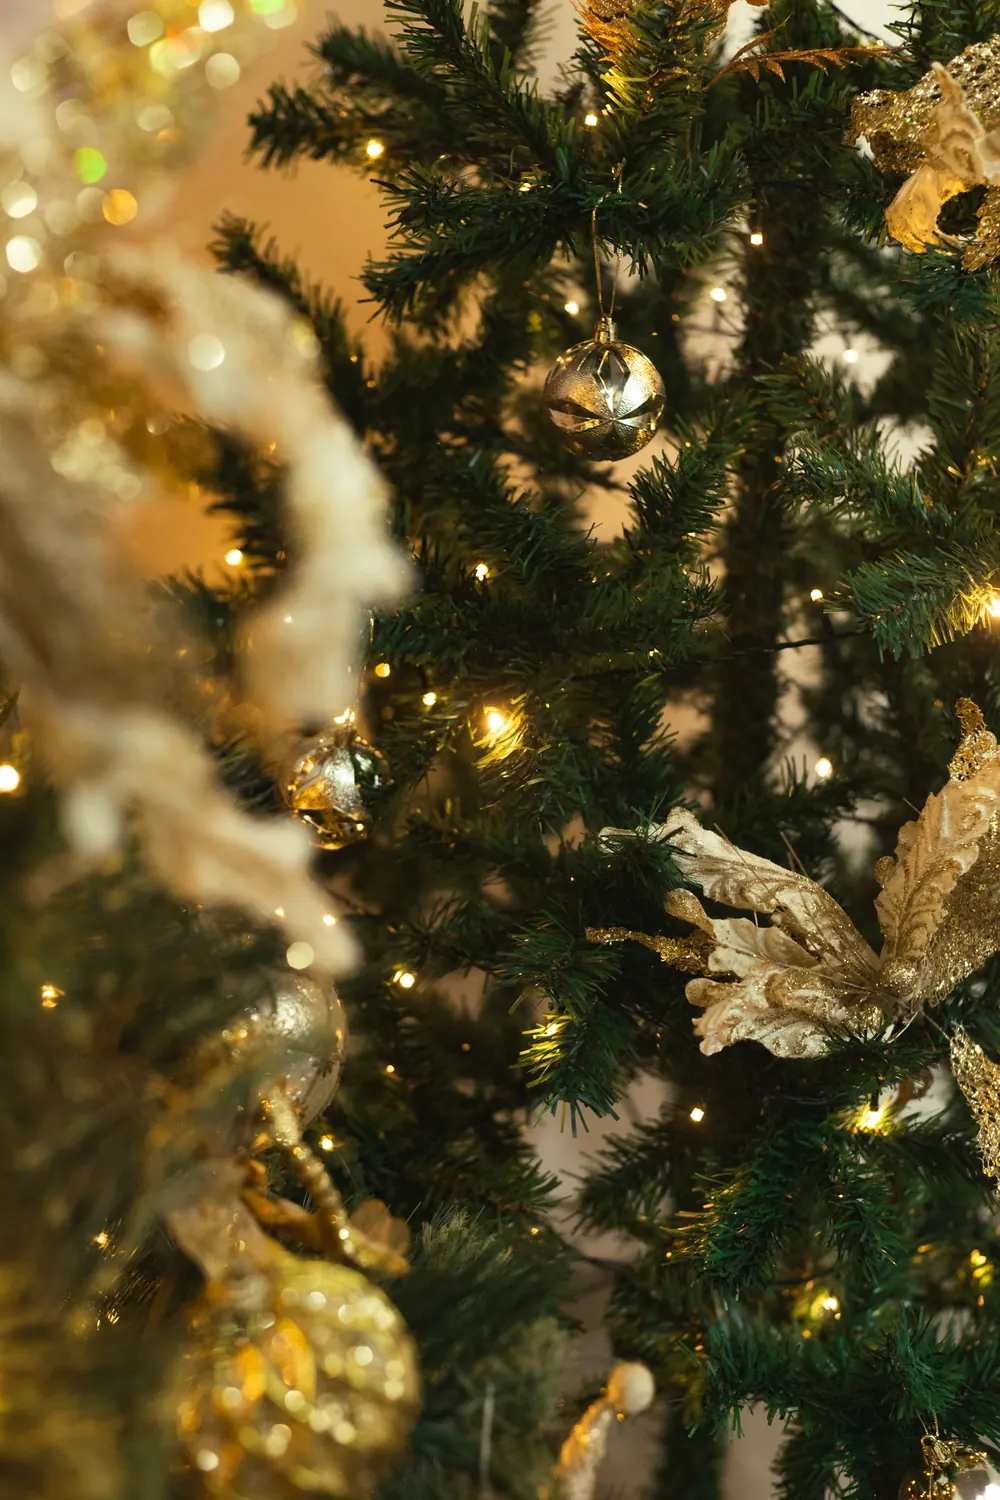
- Modern neutral: cream, champagne, brass and velvet ribbon.
Use one main colour, one accent and one metal, and repeat them all over the tree.
Common mistakes and fixes
- A bald spot facing the room: turn the tree, or fill it with a large ornament and a pick.
- Ornaments only on the outside: move about a third of them deeper into the branches.
- The top looks thin: hang smaller ornaments near the top and larger ones near the bottom to keep the proportions right.
- Everything slides down: use floral wire or ornament hooks, and hang heavy pieces close to the trunk.
Get the Home Journal Co letter
One thoughtful email a week with our newest guides and seasonal ideas. No spam, unsubscribe anytime.
FAQ
How many lights do I need for a 6 ft tree?
About 600 for a full look, or 300 for a softer, subtle glow.
Should ribbon go on before or after ornaments?
Before. Ribbon and garland go on after the lights and before the ornaments, so the ornaments can sit on top and around it.
How do I make an artificial tree look fuller?
Fluff every tip, add more lights deep in the branches, and use floral picks and ribbon to fill gaps.
How long does it take to decorate a Christmas tree?
Allow two to three hours for a 7 ft tree, including fluffing and lights.
Save this guide for later — this image is sized for pinning.
Some posts may contain affiliate links; see our disclosure. Photography: Valeria Boltneva; Valeria Boltneva; Pavel Danilyuk; Natasha Fernandez; Kostas Dimopoulos; Beth Fitzpatrick; Kostas Dimopoulos; Sephina Cornwall; Valeria Vinnik; Doralin Tunas; Саша Круглая; Aravind P.S; Alina Komarevska via Pexels.